Hey everybody!

Here’s the first (kinda) WIP of Lillie, which is actually a report about the rigging phase and now is completed!
She’s about to get into her last day! (unless Noborhys decides to draw more of her, of course haha)
Be aware that this doesn’t represent the final animation at all, it’s just a generic test motion to see if the rig is work as intended.
Here some nerdy notes about the process of Automations in After Effects!
BREASTS!
I originally spend about 3 days working on her boobie rig, which had a really complex setup with a 3rd party plugin and many controllers, it’s kind the one I always do, but for this one as the boobie is resting on the sheet, and in the end it was looking pretty awful LOL
I just decided to make a quick test with a few native effects and the result is this one you’re looking now, a pretty smooth and more natural shape, let me show you!

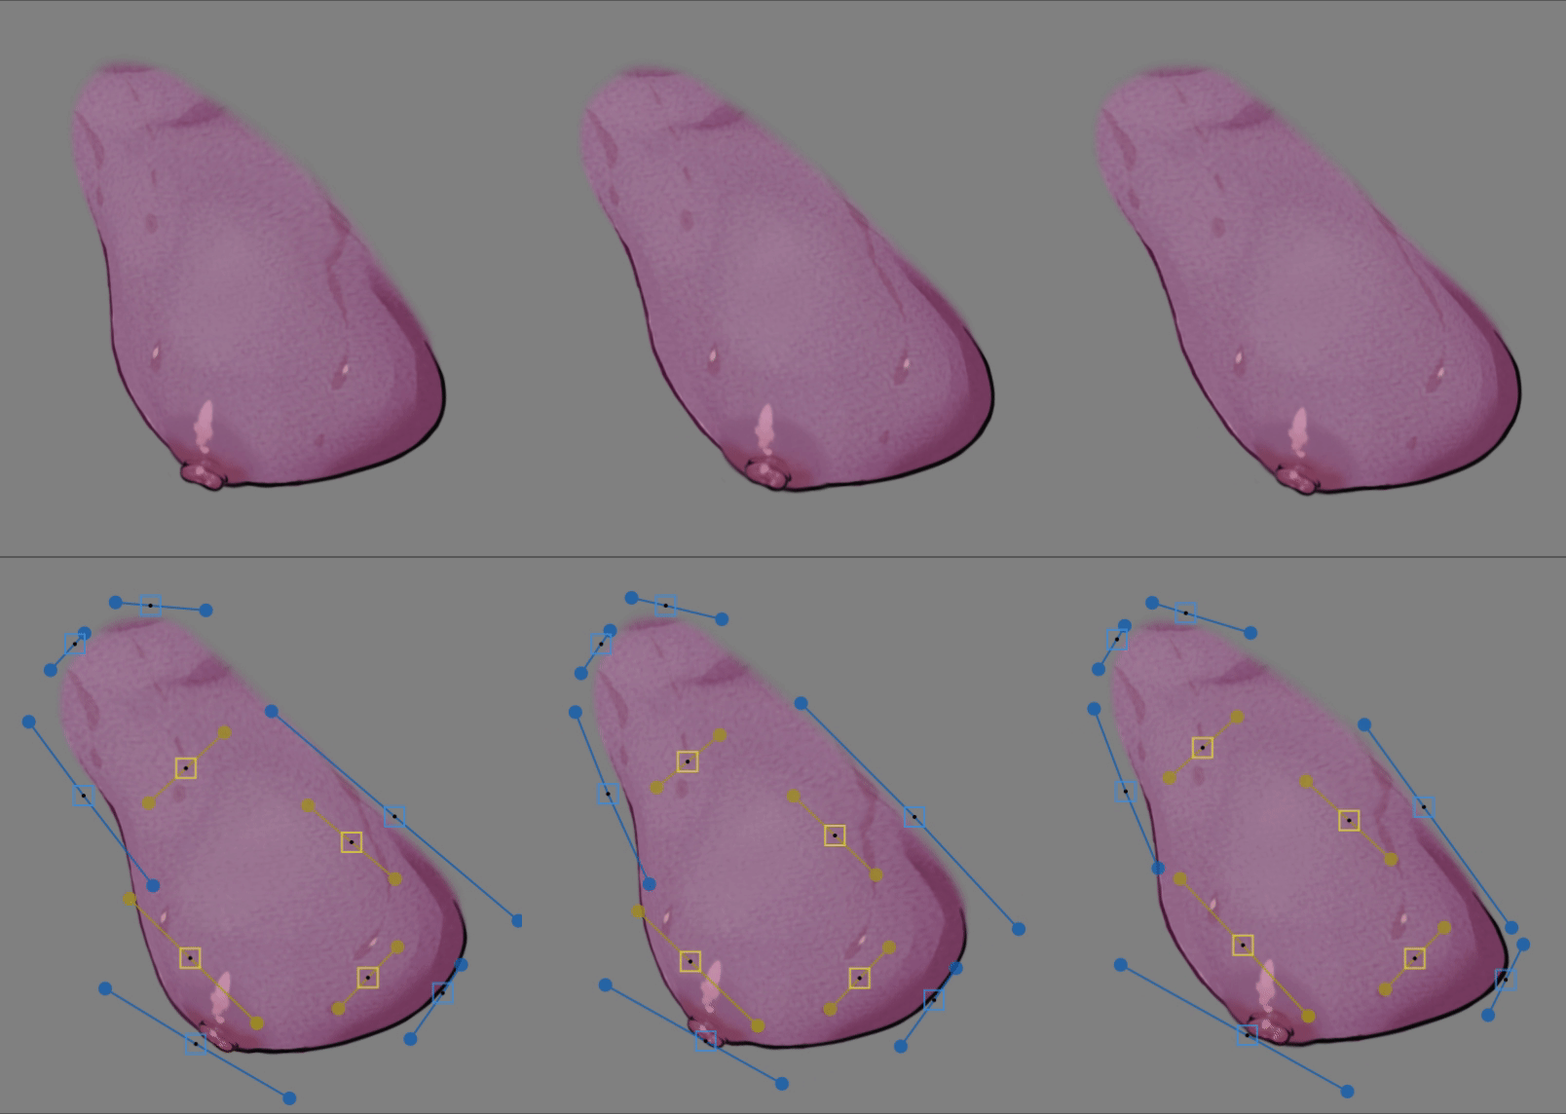
That’s the first version using the Re:Flex Warp plugin (the 3rd party plugin I mentioned), it uses Masks as source of distortion, along with that, I use it in combination with the Joystick ‘n Sliders script to create the 5 extreme poses and the scripts does it’s magic so it’s possible to morph between them. As you can see, there’s these crazy cluster of blue/yellow squares and circles, they are the original’s mask points and tangents but linked and animated with Duik’s Pins. Once it’s all setup, I generate 3 different Joystick controllers, one for the overall movement, another for the middle part and one last for the nipple, which one is parent to the previous and an delay expression is set for their positions, by doing this you’ll get the feeling it’s a soft body.
For most of the cases it works pretty great, specially when the booba is facing the camera, which is not the case here lol as the top and the right side is connect to her torso, while the bottom should be in contact with the sheet and the left part would move more freely. It’s a pretty complicated setup and as you can see, the result is pretty clunky lol

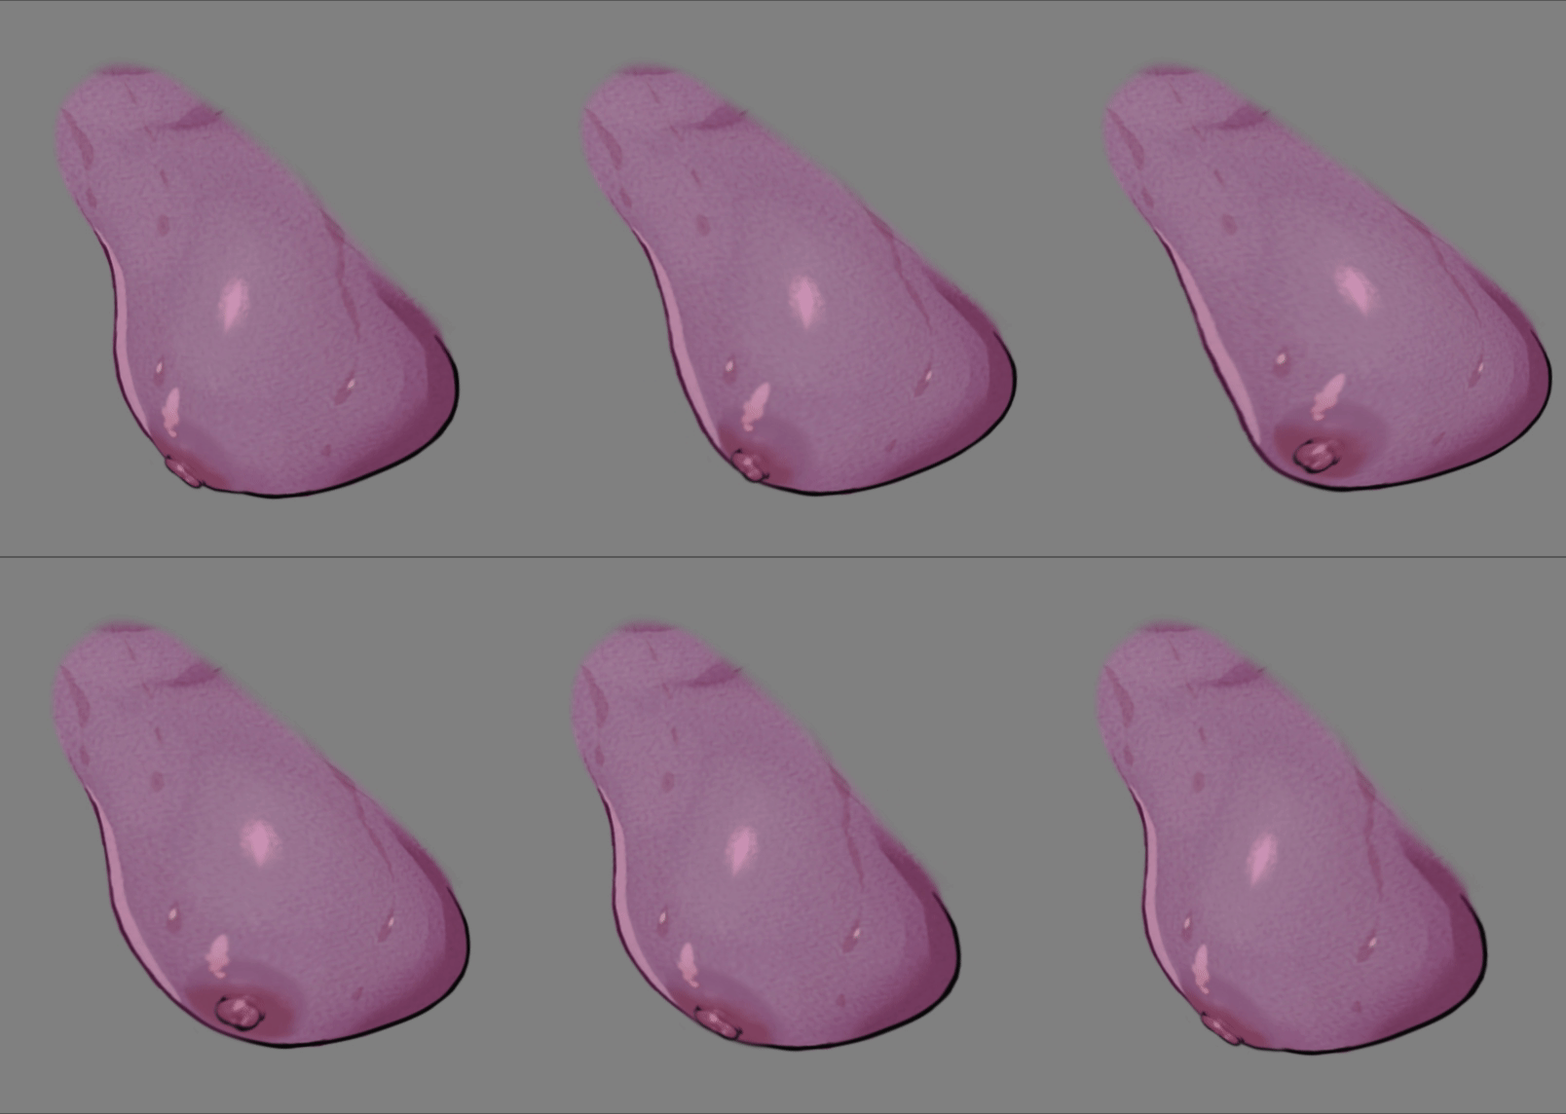
And here’s the simple version with better result, it uses a couple of CC Bender effect with Marilyn style and the Amount of each is connect with e a Duik’s Swink effect, so the first effect handles the overall deformation while the second one is more focused on the bottom part, to give a better movement, the second swing has a slight delay from the first one. Lastly I applied a CC Smear near the nipple area, which represents the higher part of the booba. I define a fixed Reach and Radius for it and once again, applied another Swink effect to control the “To” point, so it goes from point A to B in a loop.
I borrowed the nipple setup that I did originally from the RE:Flex version, which is a morph between the original version and the right pose, then applied some effects to make it looks more 3Dish and finally connected everything using Duik’s Connector to control the morphing. Finally applied one more Swink to keep it in sync with the rest of the boobie.
So basically it’s a giant chain of Swinks that gives this look hahaha
HAIR!
For all the characters with hair I like to use the AutoSway script, it’s not the most intuitive when comes into create more complex movements, but in general it does it jobs and does very well!
For the parts of the braids that are in contact with the bed, under the script’s Options there’s a checkbox to Fix the end point, so it’s very handy when comes into contacting parts, which is exactly this case! But I still want it to move as it’s not glued on the bed lol. So all I’d to do is set an expression to still follow the previous pin with a slight delay and reduce how much it should move around. Simple and effective haha
GLOBAL FREQUENCY CONTROLLER!
To control the overall distance and speed of AutoSway, and also the frequency of Swink or pretty much any script that uses frequency as base for the loop, I’ve created a simple pseudo effect with only two sliders, one to set the loop length in number of frames and the other that will be responsible to calculate the speed frequency which uses this expression:
f = effect(“Global Loop Controller”)(“Loop Lenght (f)”);
fD = 1/thisComp.frameDuration;
if(f==0)
0
else
fD/f;
Let’s break down this expression:
- “f” is a variable for the Loop Length (it’s “f” for frames lol).
- “fD” gets the value of 1, which represents 1 second, and divides by the expression “frameDuration”, which is 1 divided by the number of composition’s frame rate, so usually it can be read as 1 / (1/FPS).
- the if is just a way to avoid getting an error in case I don’t want to have anything moving around, as you can’t divide something by 0.
- lastly on the else is where we get the frequency value, which is simple the difference between the FPS by the number of frames, so if you’re working with a composition with 12 FPS, it’ll be 1 / 0,0833333333333333, which will result as 12.
- So if our composition FPS is 12, fD will result as 12 and if our loop is also set to 12 frames, the frequency will be 1. Pretty handy, right?!
Well, I think I covered a lot of stuff lol I usually try to keep my posts short, but I believe that’s something it should be shared, as there are many ppl out there interested in knowing how things works under the hood.
If there’s something you’ve curiosity or interest to know how it’s made, just message me on Discord and I might cover it in a future post 🙂
much love, washa ❤️

