All the animations, including the Bukkake version (as the preview of this post) as well the extra hidden character
What’s next?
Hiring the VAs to do their magical moans
Sound effects
Composite – there isn’t that much to do on this part, but it’s always possible to push the quality bar a little further anyway (and because it’s fun to do so haha)
Prepare all the render variations, there should a lot of them for this project!
I can’t give you guys an exactly release date, but it should be out in the next two weeks!
Thanks for reading this post, you’re awesome! much love, washa ❤️
I’m happy to announce that the rigging phase is finally done! (okay, I still need to fix a few things, but that’s part of the usual rig maintenance lol)
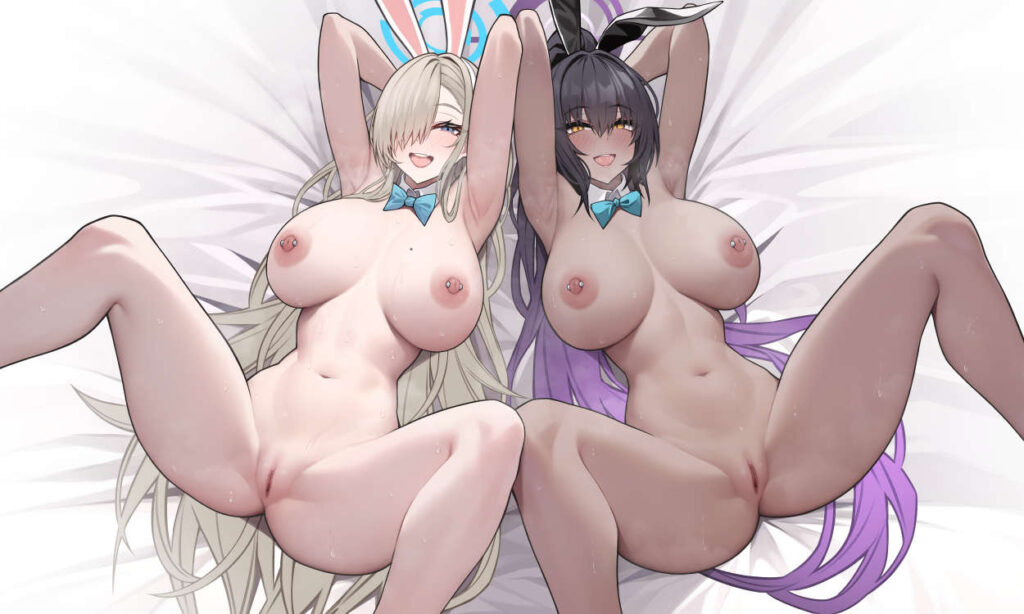
This rig was very very VERY challenging! I would say it was composed by 4,5 characters! lol the half one will be something you guys will found out only when the project is released 😉
So yea, rigging 2,5 girls is very timing consuming, as its 4 pair of boobies, 4 eyes, 2 faces to make move around and lots of hair! At least the way Siu drew the third girl, it was possible to use the same rig of Karin, so it helped a lot! (that’s why she counts as half lol)
Here are some of the rigging features, I know some of you nerds really like to see how things works under the hood 🙂
All the following setups were achieved using native effects from After Effects , the only third party stuff were scripts and they are open source, so no big deal.
That magical box with the face icon is provided by the Duik – Connector 2D Slider. I set the the extreme poses of the face in both vertical and horizontal, the script in handles the interpolation for these poses. For the face shape, I used the Mesh Warp effect, as it’s easier to control and adjust their shape than using Liquify for example. All the other facial features pretty much follows the face movement by setting up their position and scale (animated separately using the Split values script from Duik). Manipulating the scale helps to create a fake depth, as you can stretch or shrink it based on how far that part is from the camera. I also added some extra movement for the head by setting poses on the Head and Neck bones, as these parts also moves a bit we move our head around.
The face icon is there just for cosmetic, I added it manually as a shape haha
That’s a fancy but very simple one! haha The bulge part (the one that’s pushing her button belly upwards) is done with our good ol’ friend CC Smear. There’s a distance between the From/To points and I connected the Reach value to the slider by multiplying it by 0.01, so it has the same value as it would be a percentage (that’s my master degree in math for artists)! The bulge shape is a copy of the penis using the Set Matte effect in a solid layer and use the Effects and Mask from the Matte layer, so you don’t have to worry about duplicating the original layer and all that annoying stuff, specially as we don’t need to show the layer anyway. I added a couple of Simple Choker effect to make it smooth out the shape. Once this is set, all I’d to do is add the Bevel and Emboss layer style and play around with the setting to look smooth. Lastly I connected the Depth value to the slider controller. Playing around with the value gives this result, I really liked how it turned out!
Next up is make the bulge actually follow the PP tip! Well, that’s the easy part 🙂 Remember that From/To of the CC Smear? I simply connected the “To” value to follow the position of the penis tip bone. All the rest happens automatically, as the bulge shape layer is the copy of the original penis. (the rig is actually quite heavy, I edited the footage to be 6x faster so it looks like as almost real-time lol oh AE….)
You can also see that her legs are following the dude’s hips, that’s the power of IK! After setting the controllers, I just set them as child of the dude’s hips and that’s it!
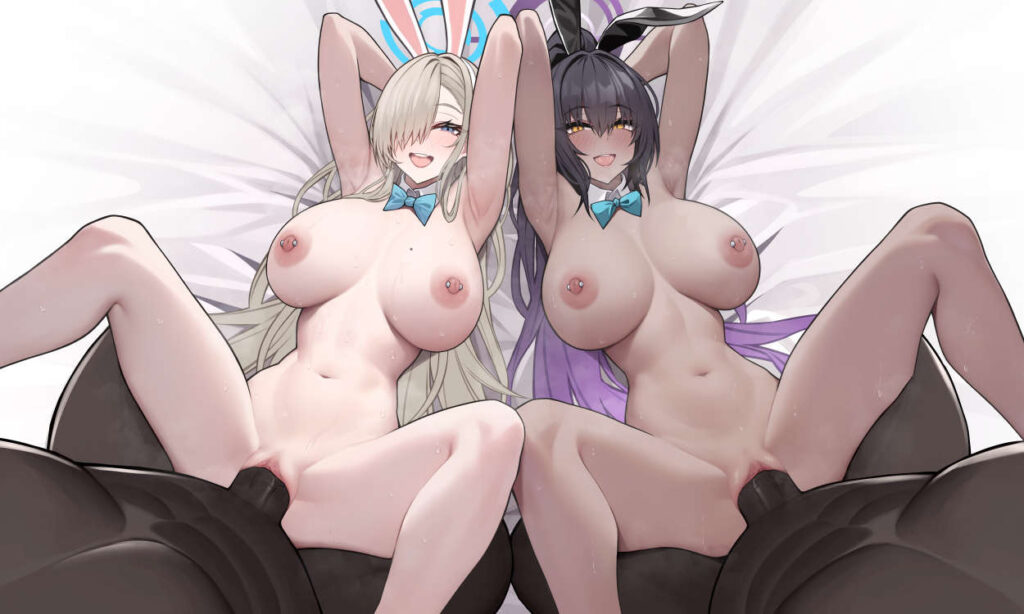
Lastly is the fancy add-on of Bukkake!
Siu handed me the file with a ton of variations, and one of them was the bukkake haha It required a bit of extra setup but I think it was worth!
The boobies are jiggling around just for extra flavoring!
The project can be finally handled to the animation department (aka, also me)! Sorry for taking so long to finishing up this part, usually the rig takes far more time to setup and the animation itself, specially by the fact that having a good rig can save a lot of work during animation part.
Thanks for reading, you’re awesome! much love, washa ❤️
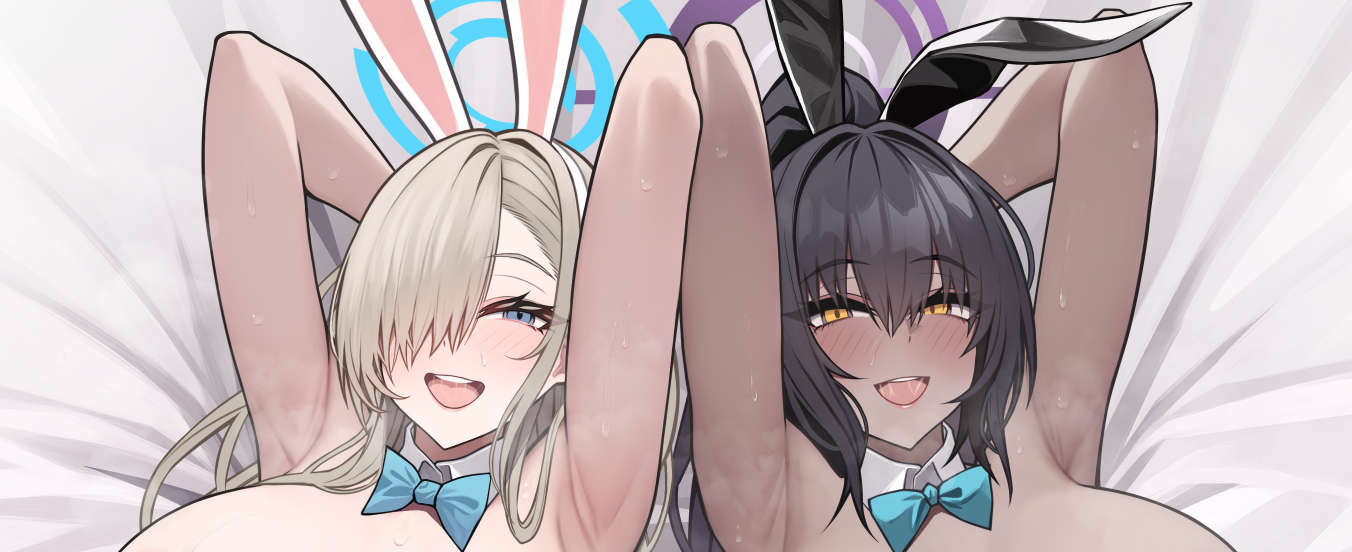
The project is going smoothly, For the last two weeks I spent translating, cutting and preparing the artwork for not just the two but actually three girls haha yeah, there was an extra character inside the file Siu sent me. I decided to keep her as even though it’s from an anime, I know many of you will be happy to see her getting nailed along with Asuna 🙂
I’m currently working on the rigging, mostly of Karin’s body is already set and now I’m tweaking her breasts, once this one is fine tuned all other tatas will be set up in the same way.
Thanks for reading, you’re awesome! much love, washa ❤️
Now that the Lillie on Hut Trilogy is finally completed, we can move on to our next project, which are the great waifus from Blue Archive, it’s been a long long time since I wanted to animate them!
The original artwork was created by the amazing Siu, he’s a japanese artist who seems to pretty much only draw BA waifus, and also, if you’re into beast stuff, definitely check his stuff, there are some neat stuff on his pixiv, be aware that most are under the variations, so you might have to dig a little to find them. His links below!

 Siu handed me the file with a ton of variations, and one of them was the bukkake haha It required a bit of extra setup but I think it was worth!