It’s been a long time, a veeeery long time, about 10 years to be more precise! hahaha
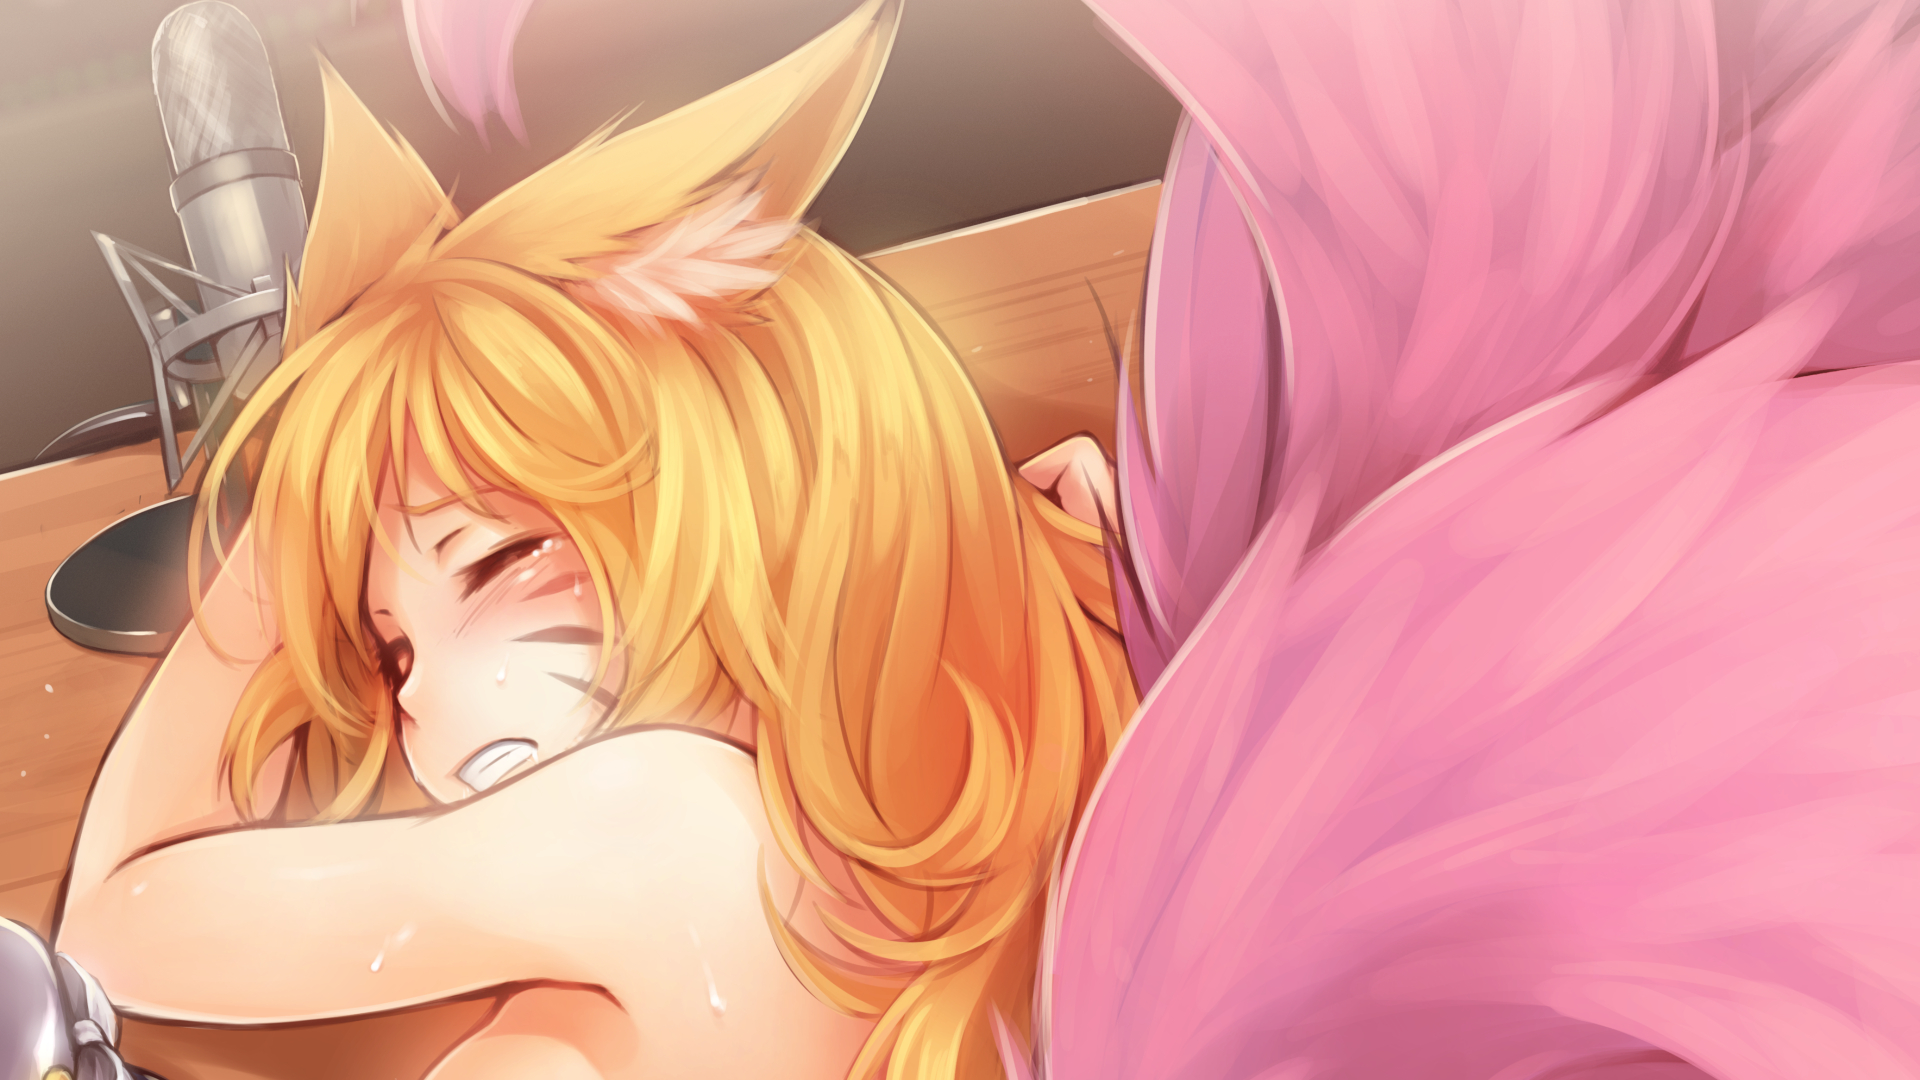
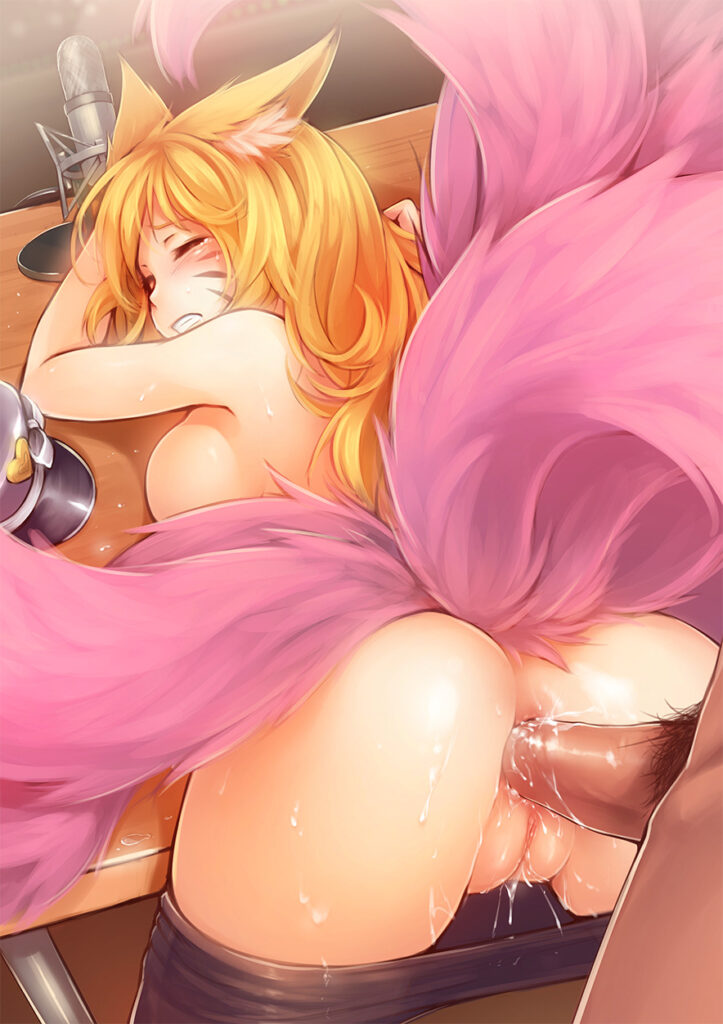
Back in July 2016, this campaign was launched and the debut project was Ahri Pornstar! Which I know many ppl really enjoyed and even became an sparkling inspiration for some artists to become animators, so yea, this project is VERY special not just for me but for many of you guys! It’s the 10th anniversary of this campaign!!
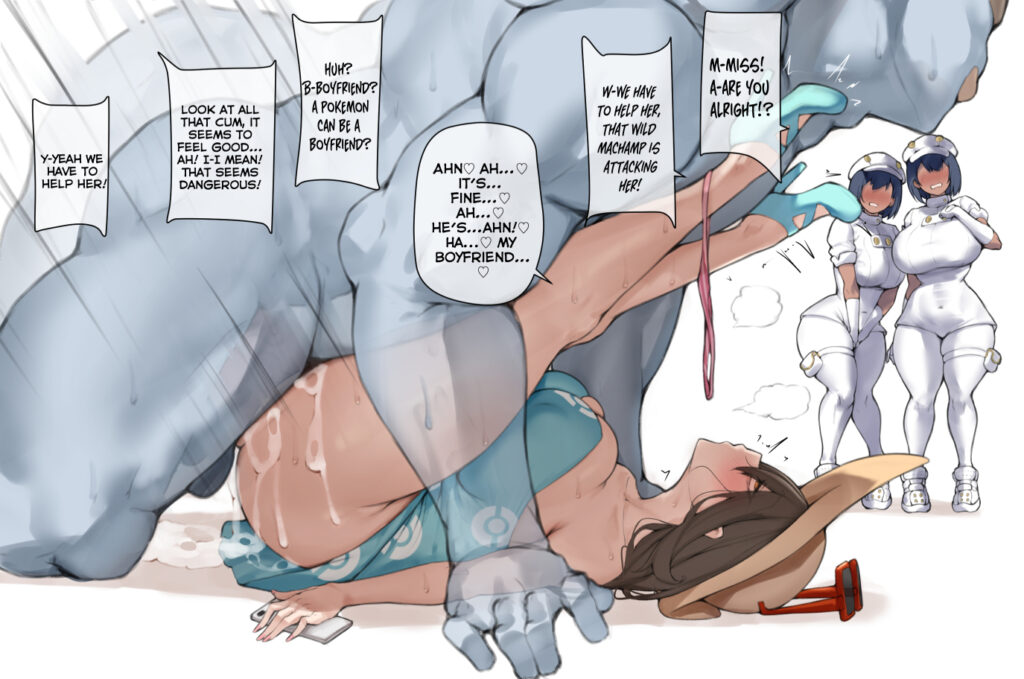
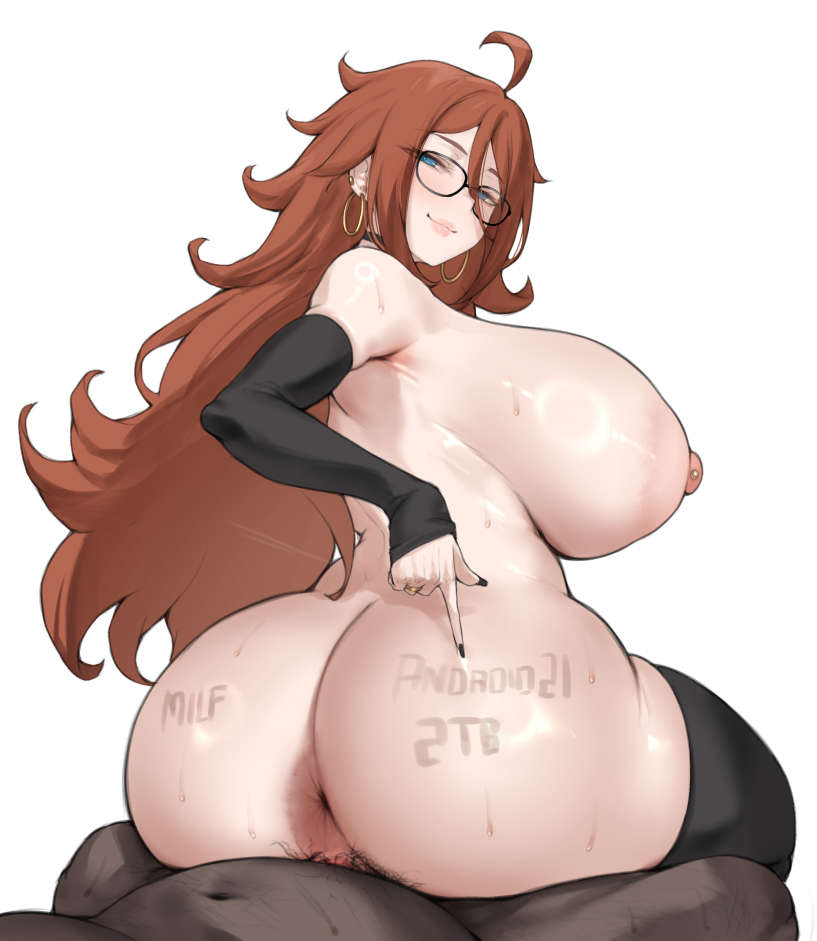
This artwork, along side with the original Pornstar, was commissioned by Kuina featuring the amazing artwork of RiceGnat. I always had the intention to animate the Part 2 but wasn’t really sure when and now it’s the perfect timing lol One of the things that bothered me the most was this is a vertical composition and back then it wasn’t something very common and yet now is the new standard.
And for those who are here since the beginning, be aware of this:
Thank you, all of you, for being here! Nothing of this would be possible alone! 🙇 much love, washa ❤️
I’m SO HAPPY to announce that this is our first project also including JAPANESE DUB! 😭
This was one the main reason the project was delayed, as getting into their schedules is completely different from the gringas but I think it’s totally worth!I’d planned to release it next Friday but everything was ready, I decided to anticipate it for you guys!
As it features multiple audio tracks and 3 different render variants, we ended up with a GABAZILLION of extra content!
Hey everybody! It’s been a while since my last post, many IRL stuff happened and it caused this massive delay on our project, but I’ve been working on it everyday nonetheless!
Overall progress is about 90% concluded:
Animations are about 95% finished
5% remaining means the final tweaks in some of the contact poses and adjust the boobies physics
Update the Animatic for the VAs record over the final animation/timing
Sound Effects
Composite + Mixing
Release
We’re getting closer! Thanks for reading this message, you’re awesome! much love, washa ❤️
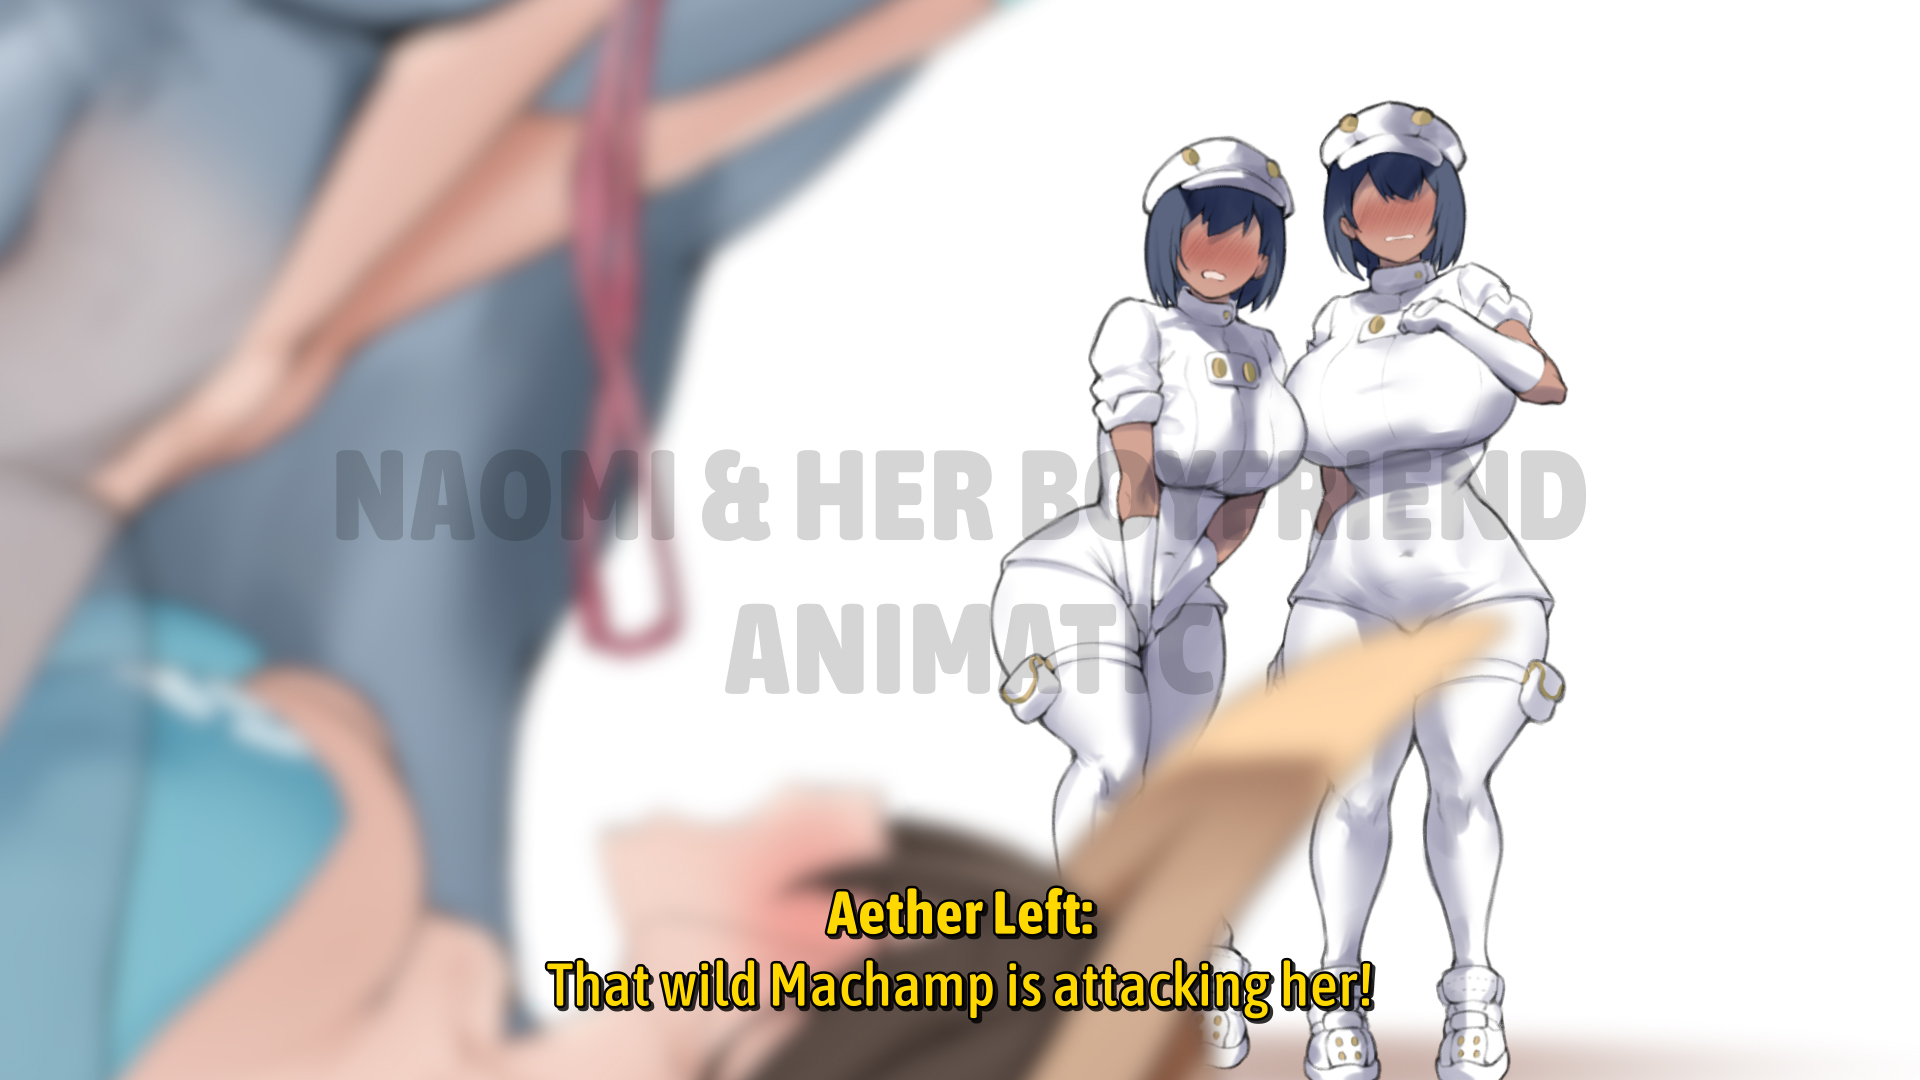
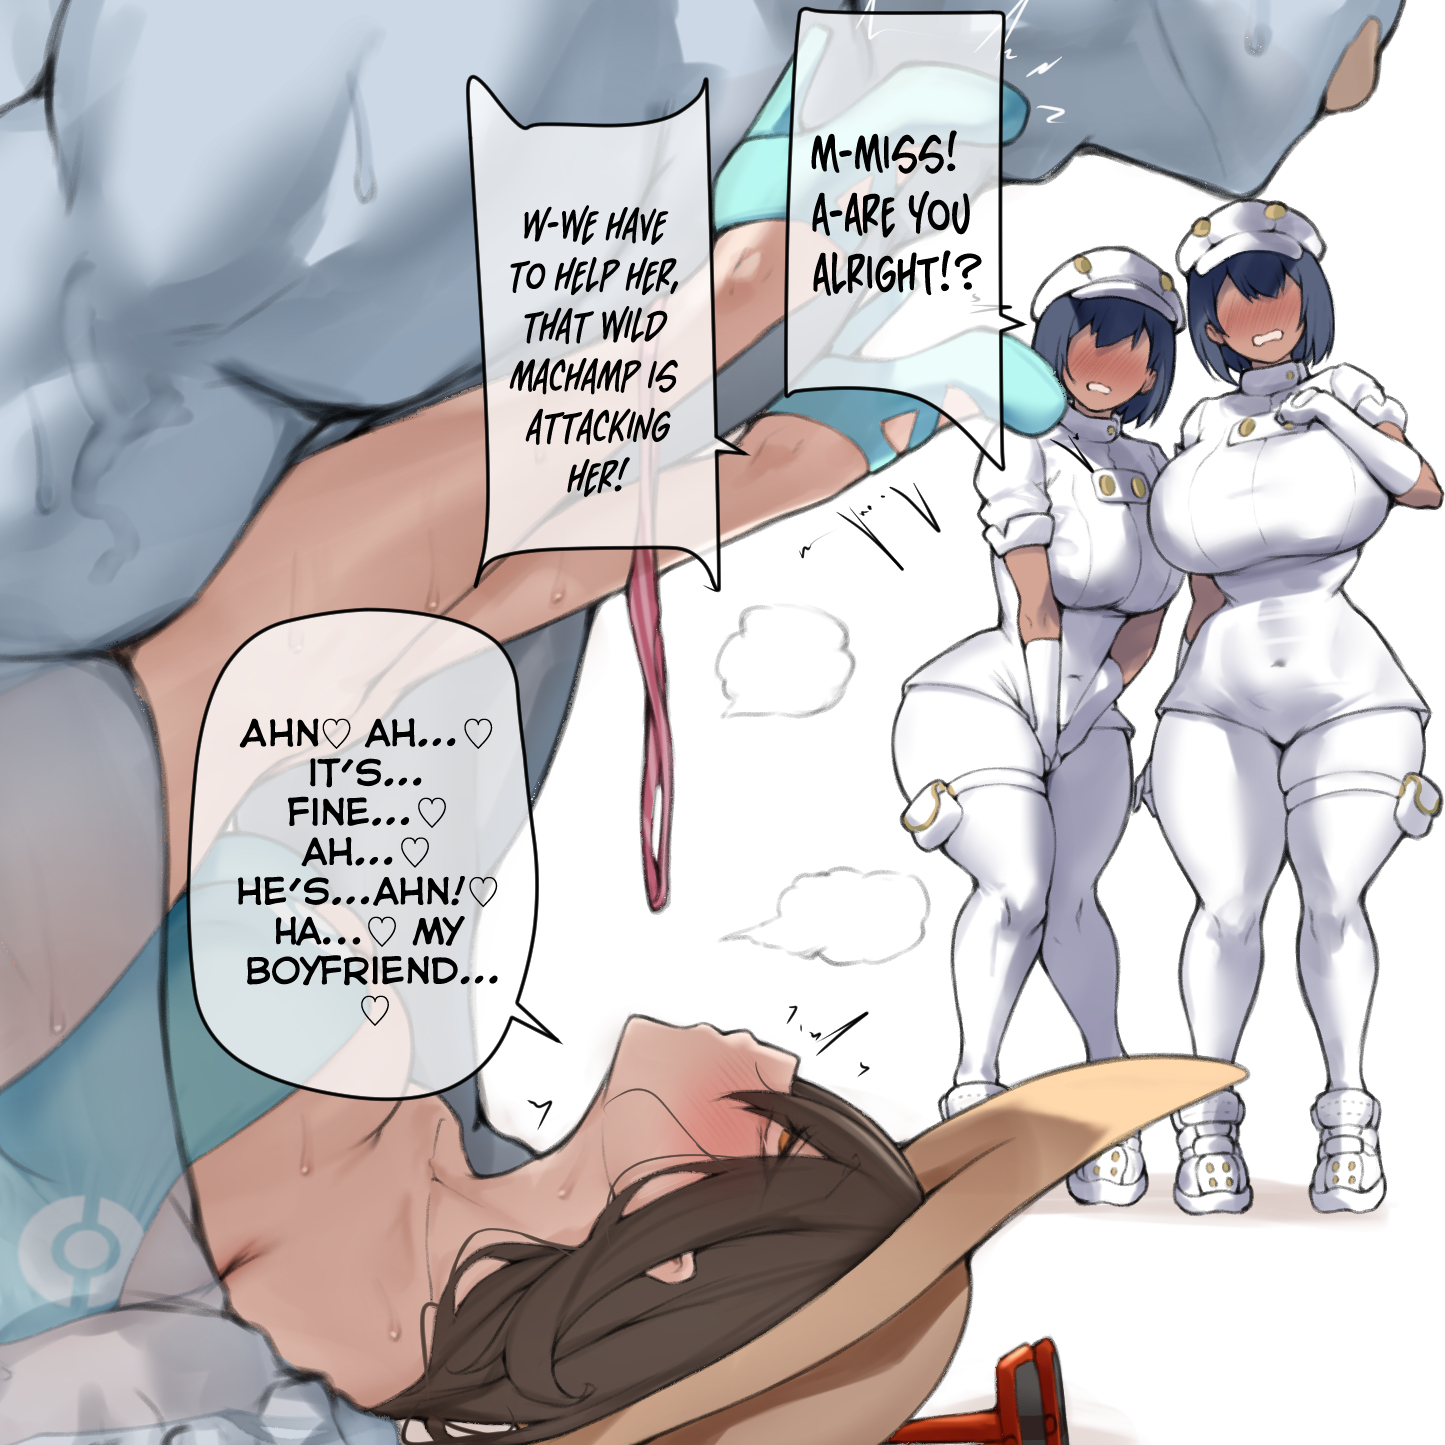
For the first time, I’ve prepared an animatic of the animation before doing the whole thing lol
That’s how animation is meant to be produced in first place, but as usually our projects are simple loops and very simple (and usually silly dialogue), I end up just making the whole cinematic and handle it to the VAs to dub over.
This time is different tho, as I’ll be adapting the script from Aster and we’ll also have for the first time Japanese VAs! Aster will be directing them, although I left some extra instructions in the animatic itself to help them all.
For those who don’t know what an animatic is, that’s the part where the storyboard is adapted into video format so the team can determine how long each shot will take, and in our case it’ll also be the base for the VAs to dub their lines.
The goal here isn’t about quality but timing 🙂
Thanks for reading this, you’re awesome! much love, washa ❤️
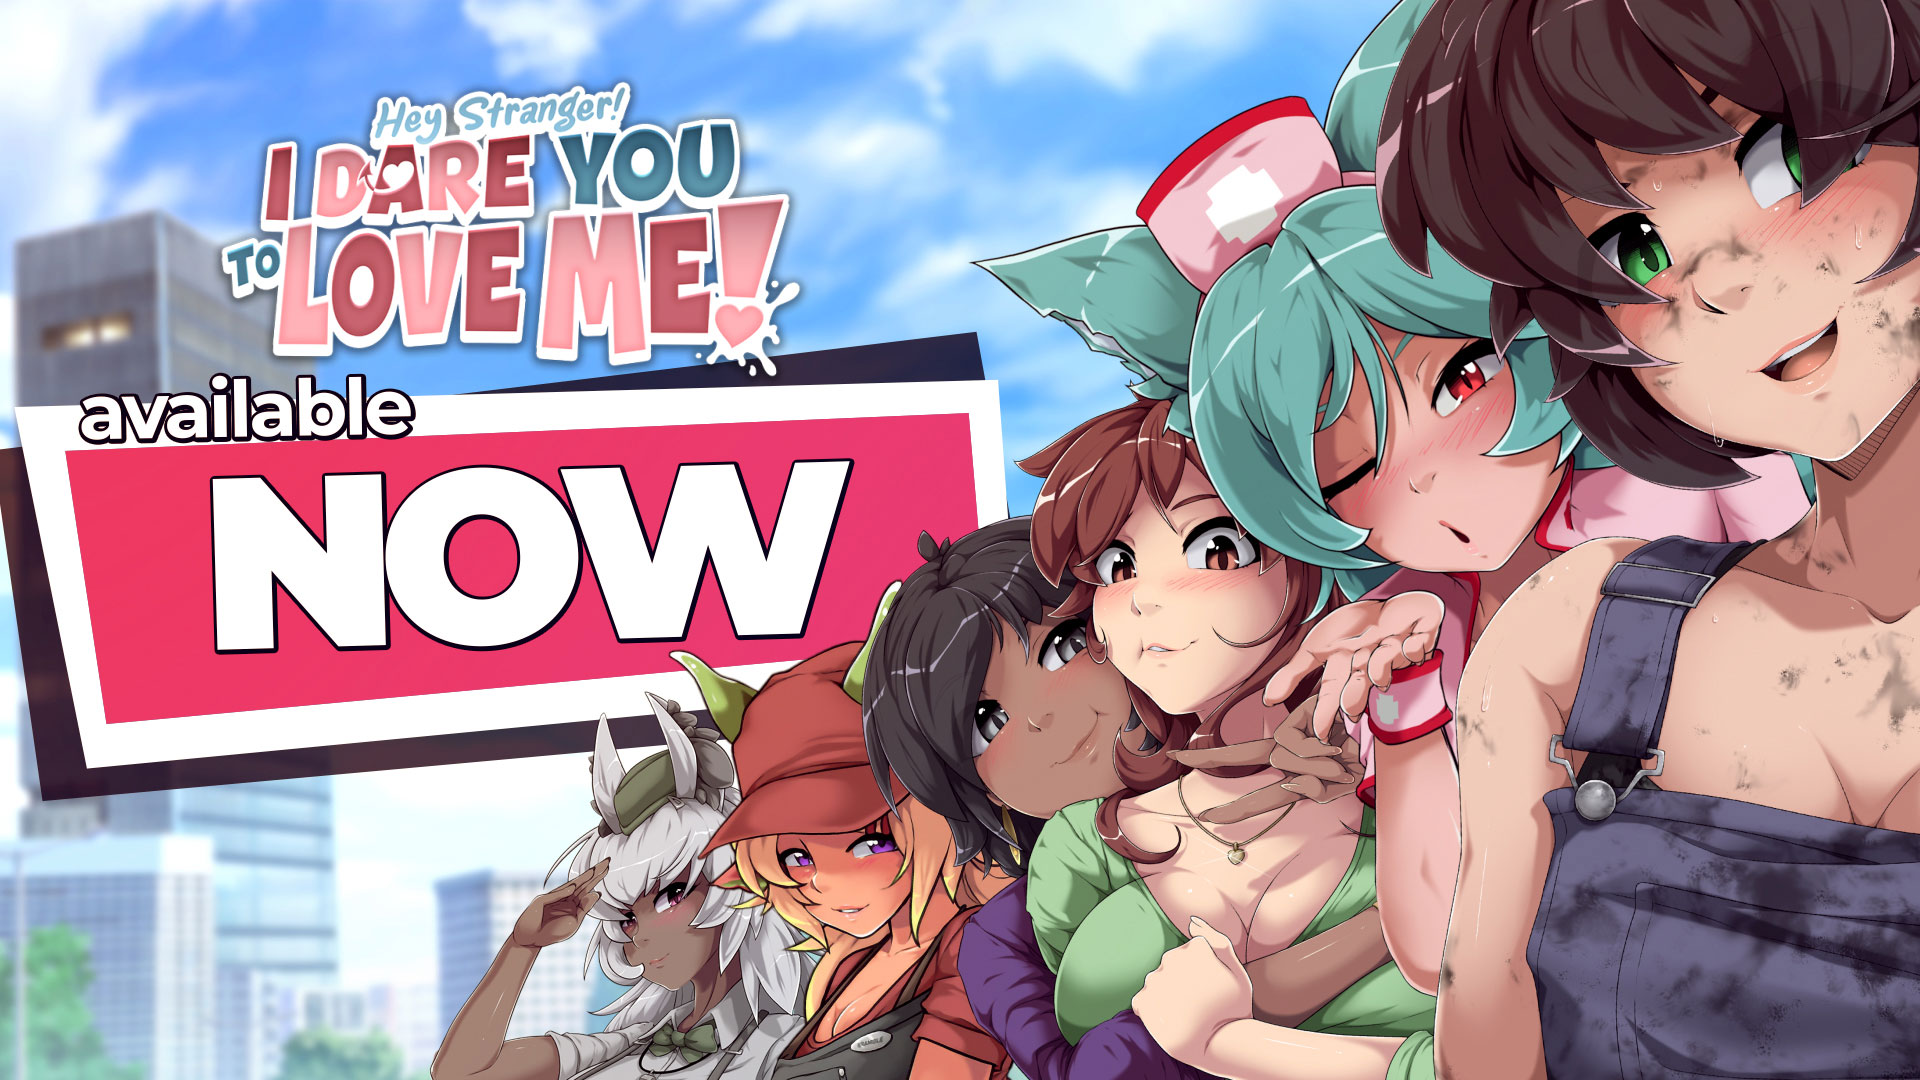
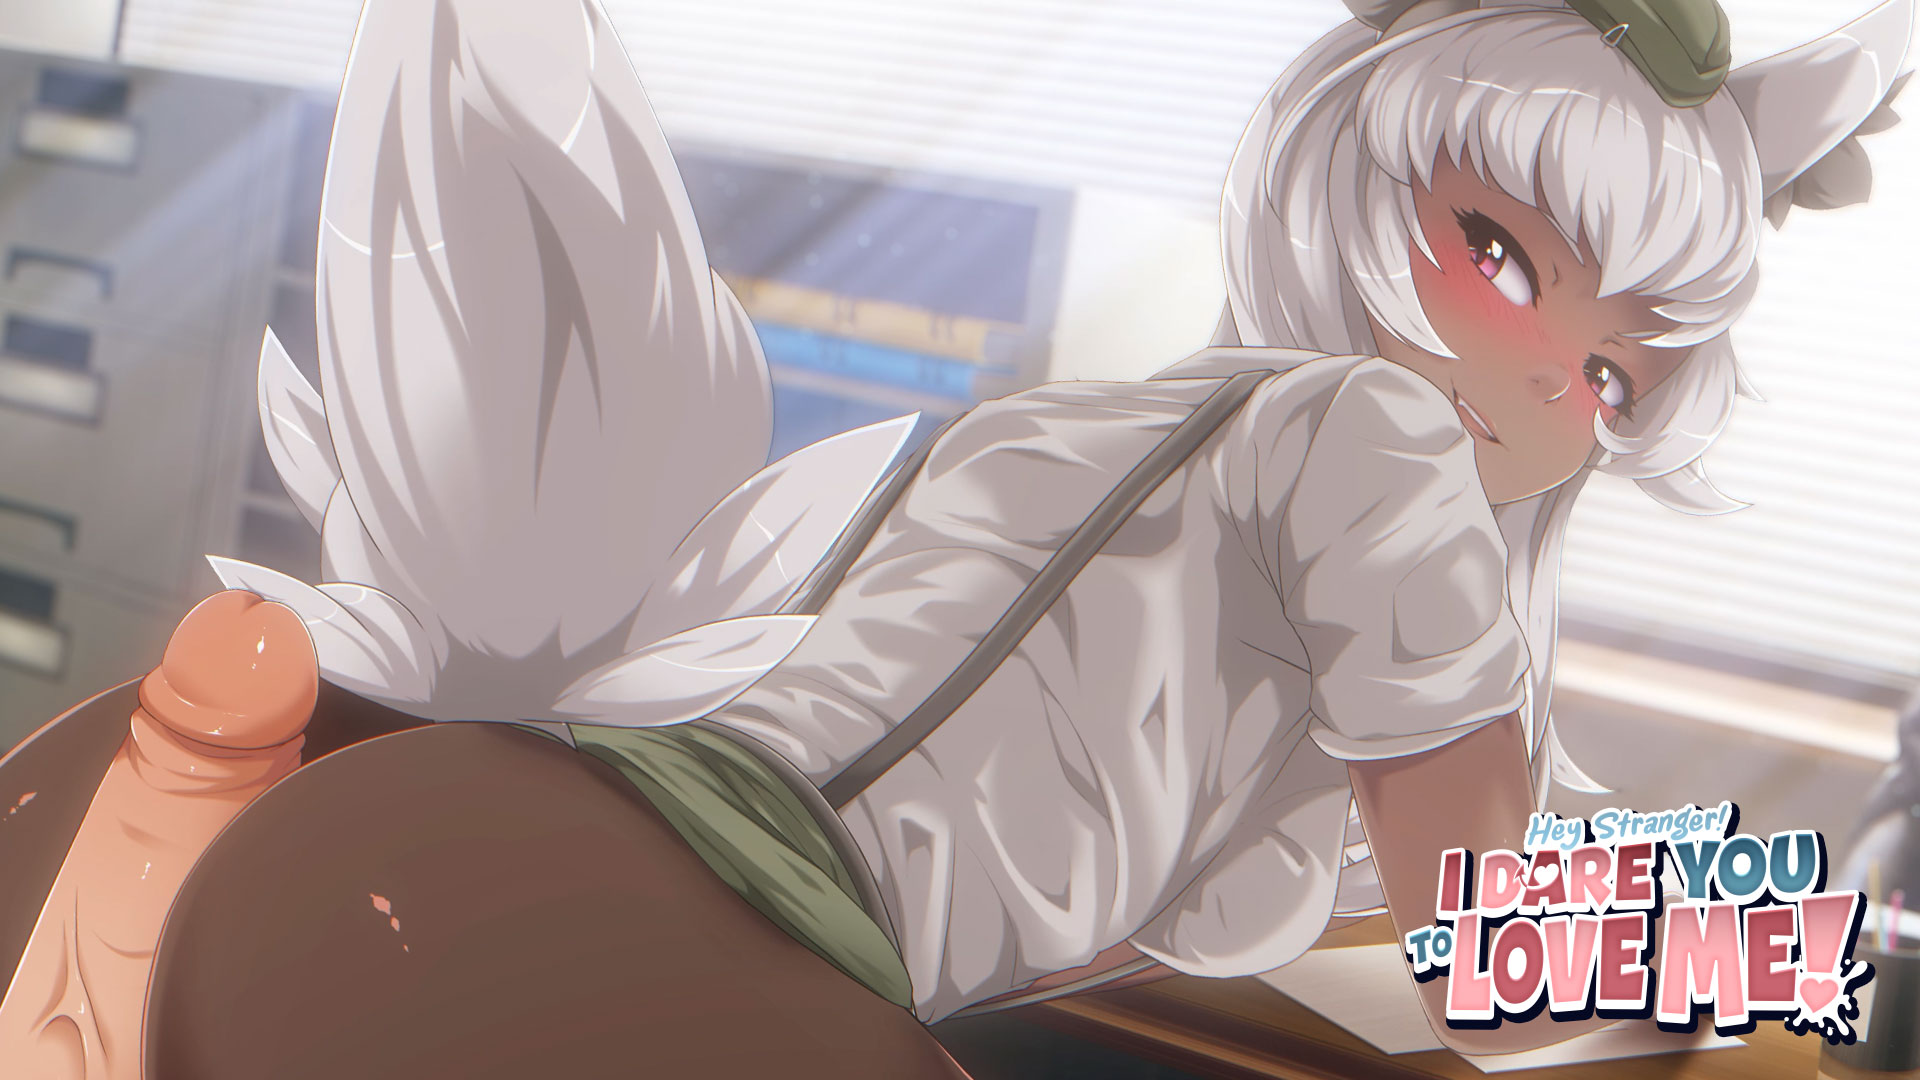
I’m so happy and proud to announce the initial release for our game: Hey Stranger! I dare you to love me! I’ve been working on this project for the last 3 years and as result, we’ve about 25 minutes of raw animation, if counting all the dialogues and scenes, it’ll probably surpass 1 hour of animations! 👀💦 And that’s just half of the cast, more about it below…
For the initial release, I would like to share a note from our publisher about the current state of the game: TL:DR: Our original plan was to release this game as Early Access (EA), with the same content as we just did, 6 girls but with a little less polish in terms of UI and usability, but due Steam’s decision to change their policies about EA for adult games, we’ll release the next 6 girls as FREE DLC and in the meanwhile, we’ll be improving the quality of life and UI elements. We’re a small team of only 3 devs, please be patient 🙏
The time has finally come! ‘Hey Stranger! I Dare You to Love Me!’ has finally released! The road has been long (and there are still many surprise twists ahead), but we’re thrilled to finally be able to share the sultry city of Porte Avant with all of you! That, of course, includes the lovely ladies who live there, too!Some of you might be wondering why this took so long to release. Steam’s policies have changed a lot in recent months, and one such change includes adult titles losing the ability to release as Early Access (which was our original plan). We pivoted accordingly, and so we’re referring to the launch of ‘Hey Stranger’ as ‘Arrival’. At launch, you will be able to meet and interact with 6 of Porte Avant’s residents from the get-go. You’ll also have the ability to hunt items which might just become important to those characters later on. Depending on the choices you make, you can activate multiple “intimate” encounters, each of which is fully voiced and animated! There are also currently 6 endings to choose from and 6 achievements to collect.
Because of the aforementioned Steam policies, we will be releasing additional characters into the game as FREE DLC! There are 6 more ladies slated for future content releases, each with more tantalizing interactions! The first of those new additions will be the royal and demanding Lutci, with more announcements to come for each new addition thereafter. That, of course, also means more endings, more animated scenes, and more achievements are on the way! Also, we have plans to gradually include more quality-of-life updates as time permits, including keyboard and gamepad functionality, a “vault” where you can re-watch unlocked animated scenes, and more!
From all of us on the development team, thank you for your patience and support! We hope you enjoy your stay in Porte Avant, and we look forward to bringing you even more saucy content very soon!
Thanks for reading this, you’re awesome!! Happy fapping everybody! 💪 much love, washa ❤️
What I try to achieve with the character face is to give 3D-ish movement, otherwise it’ll just look as a flat plane moving around (as this is what you get right out of the box when working with 2D puppets anyway)
So here’s a breakdown how it’s made:
HorizontalVertical
I like to create a fake mesh guide with shape layers over the head layer so I can better visualize how the face will be distorted. For the distortion itself of the head, I use a single Mesh Warp effect and set the extreme poses of Left > Center (the original) > Right, same goes for the vertical but Up/Down instead. For the face features I rather leave them in a different composition and adjust the parts accordingly, for the mouth is simply a matter of moving it’s position. Now for the eyes/brows I like to also animate it’s Scale X value to fake the depth, so the closer it’s to the camera, the higher the X value is and vice versa for the opposite direction. I know some of the extremes are looking too extreme and even a bit distorted lol but I don’t mind as I usually don’t push the poses in the animation this far.
One important note here, if you look closely, you’ll notice that her head rotation in the mesh preview is different from the one in the animation, which is following the original drawing. The reason for that it’s because it makes the rig process easier as I only have to deal with the raw horizontal/vertical positions inside the pre-composed layers, if it was following the original rotation, I would need to deal with these rigs in a diagonal matter and it would be a nightmare to get them right. So always before hand I rotate the artwork to give a straight alignment and in the rig I rotate the parts back to it’s original version, it’s actually quite simply but can save you a lot of stress, sweat and blood tears in the process.
Once everything is set, I use the Duik Connector 2D Slider, for those familiar with the Joystick and Sliders, it’s pretty much the same, although the Duik script works with the keyframes instead the properties values. It allows you to work with effects that doesn’t deal with explicit values, which is the case of Mesh Warp, as you can’t see the number values of the individual vertices and gives you only a single keyframe.
Now that the head and face are rigged, everything else that’s connected to it, as the hair, glasses and ear earrings will follow the same movement, it’s a laborious process and takes a good amount of time, specially when you’ve many hair meshes to deal with. It usually takes me about one or two days just to get everything setup
There are so many other parts I want to cover but for now that’s all the time I can spare to share this info.
If you’re reading this, it means you’re big fan of these nerd info haha This rig will be available once the project is released, so please stay tuned 🙂
Thanks for reading it, you’re awesome! much love, washa ❤️
Hey everybody! I got a couple of things to share with you guys…
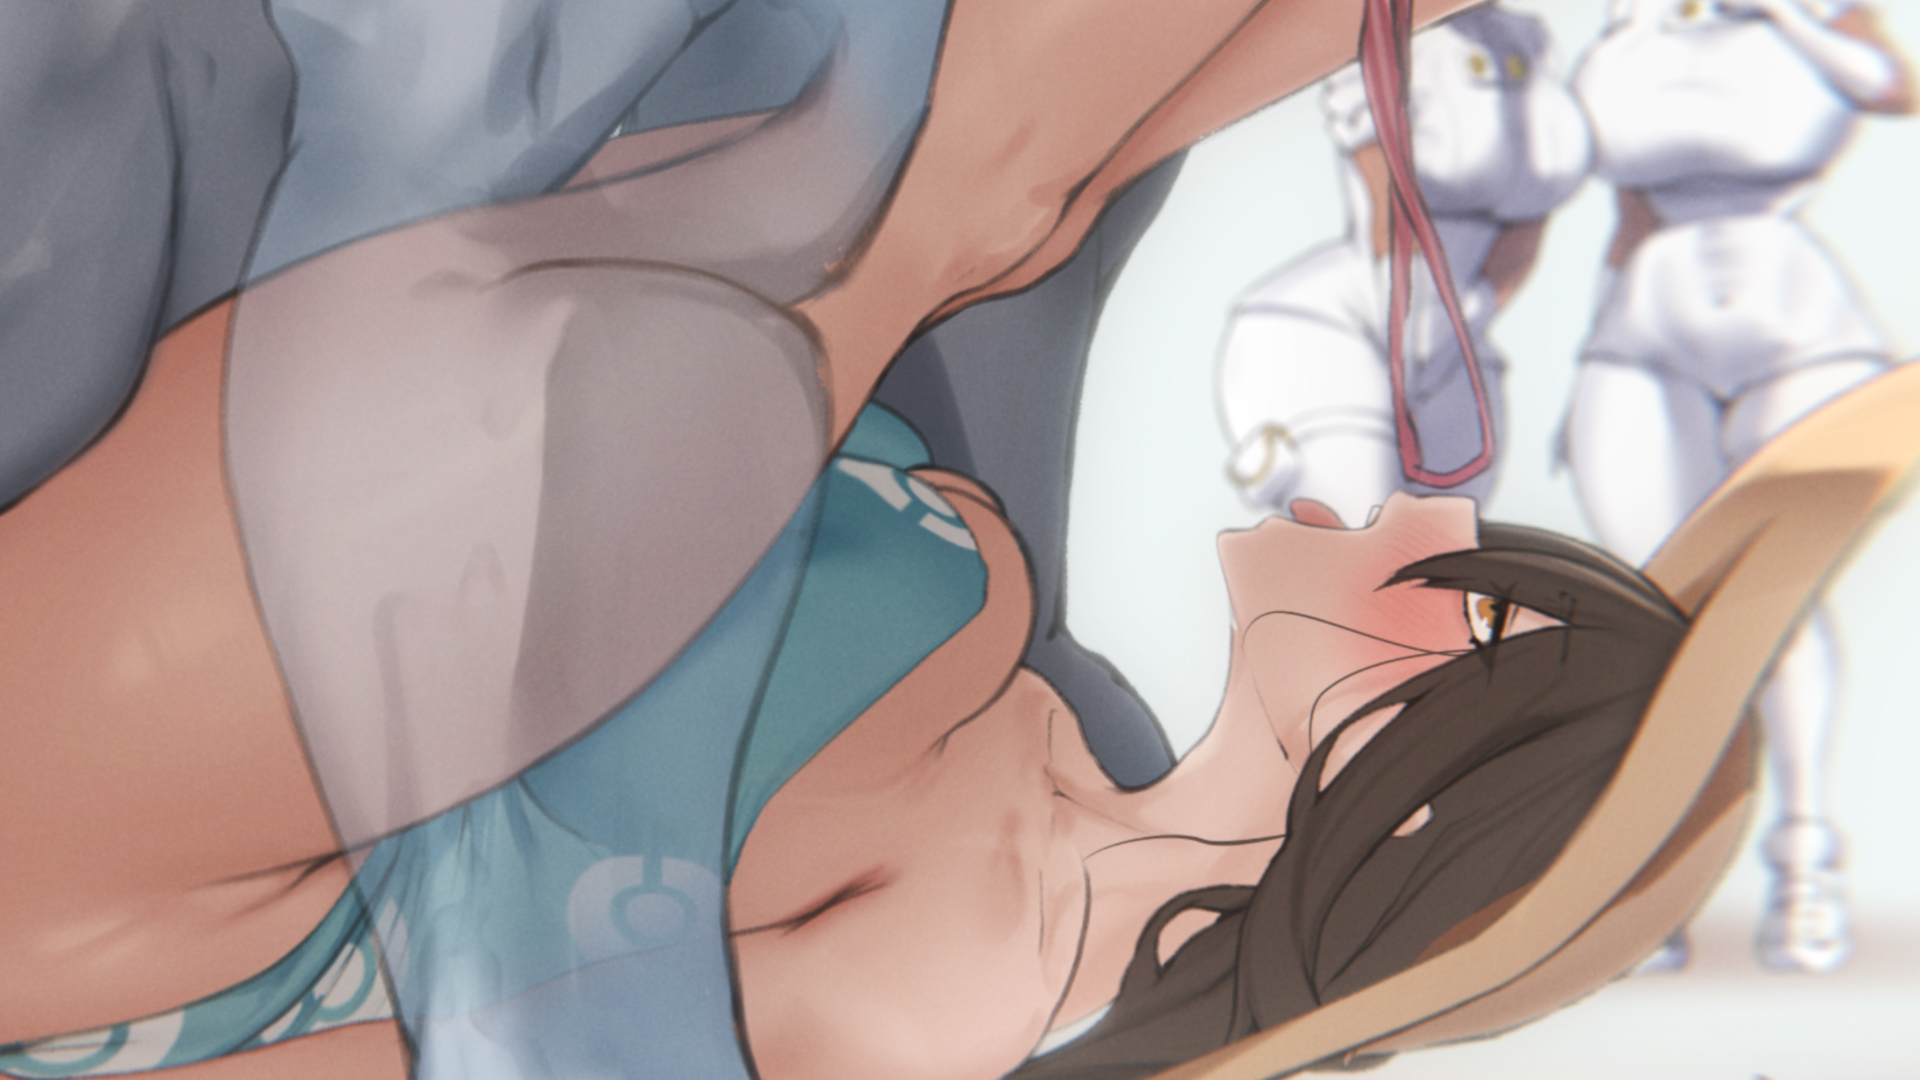
First: here’s a little teaser of whats cumming haha Some might already recognize the art style, which is from our good pal Aster_C. The full preview is available in the Updates and Announcements in our Discord server (invite link) And yea, there’ll be a Majin version as well 🙂
Second: I’m currently dealing with a crunch season for the Hey Stranger! game. For those who don’t know what this term means, it’s about working 93 hours per day to get everything ready for the game’s release. So yea, it’s fun and yet very tiresome due the huge amount of stuff to render and compile.
I want to be 100% transparent with you guys, for this month the updates will be slower (yea, slower than the usual 😭 ) as I’m dealing with this situation, so I’ll be working in this piece in the small bits of free time I get and once I finish off all my part in the game project, I’ll be working only in this animation to get to you guys asap
Thanks for reading this, you’re awesome! much love, washa ❤️
This project is the main reason that our patreon campaign has been a bit slower lately, there are many animations planned for this game and I’m the only animator around, so yea… lots of stuff. Soon things will get back on track, I’m sorry for that everybody!
And please please please watch the trailers!!!! lol I spent a good amount of time editing them!
As I’ve been working for the h-scenes of this game, expect the same level of quality that is presented in our projects here 🙂
Please play the demo and let me know what you think!
Here is a couple of extra animation previews that I’ve worked on 🙂
Soon we’ll announce more info about the Early Access release!
Thanks for reading this, you’re awesome! much love, washa ❤️