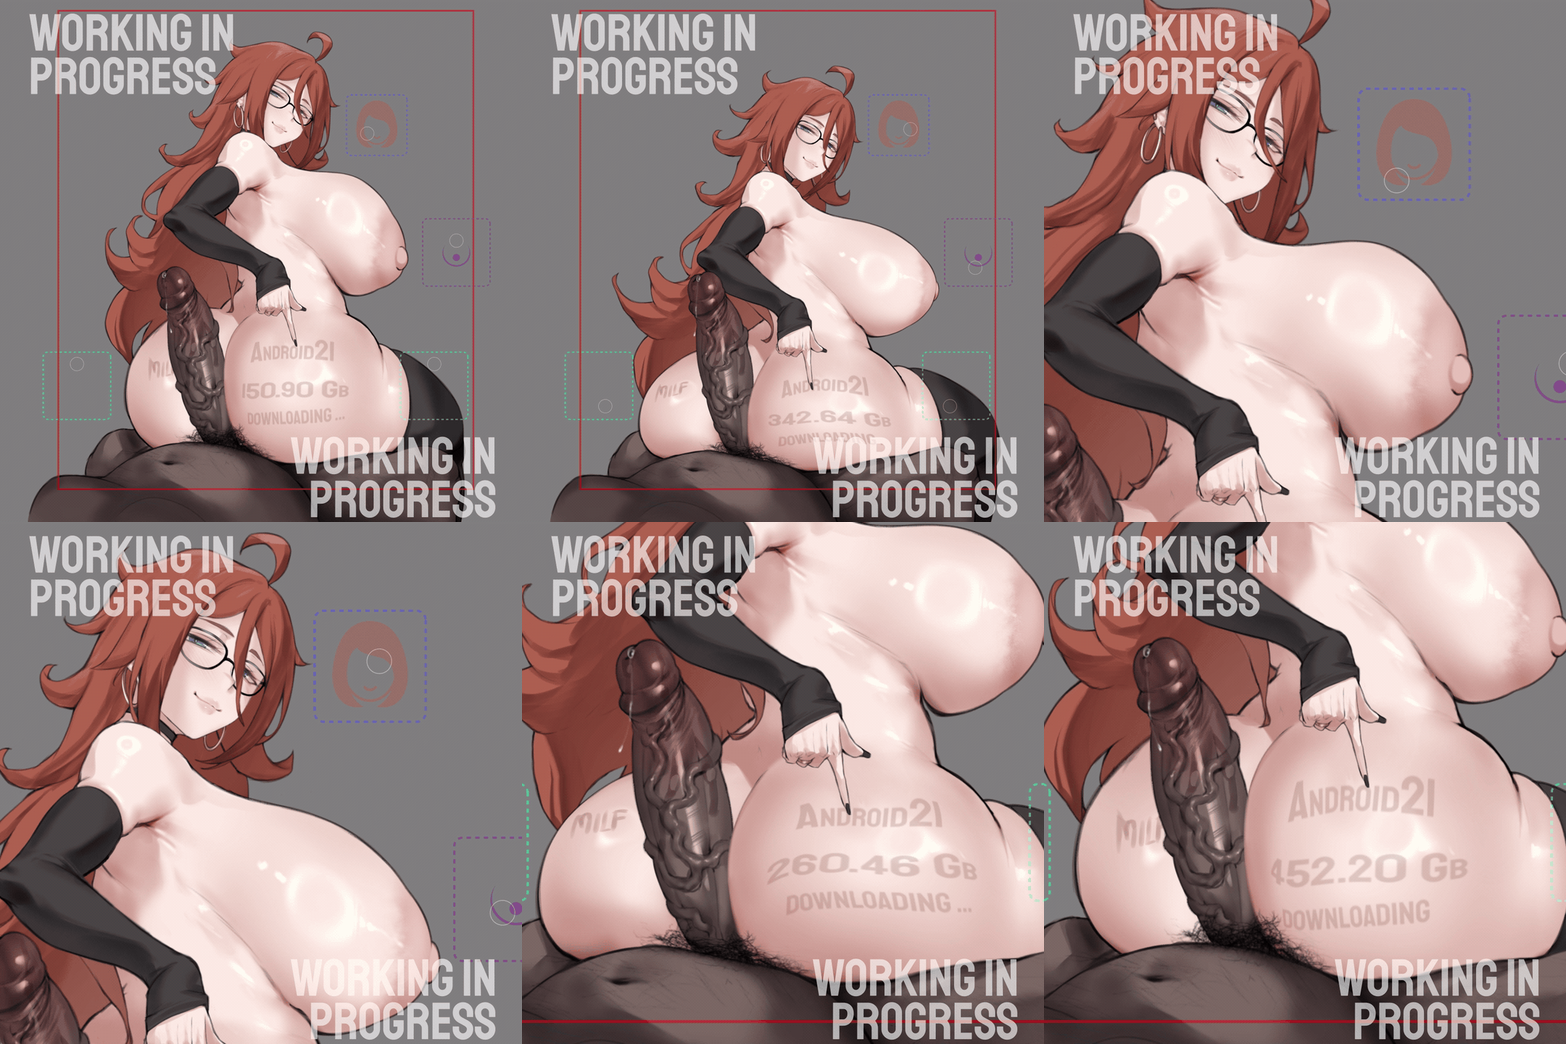
Hey everybody!

Head + Face rig
What I try to achieve with the character face is to give 3D-ish movement, otherwise it’ll just look as a flat plane moving around (as this is what you get right out of the box when working with 2D puppets anyway)

So here’s a breakdown how it’s made:


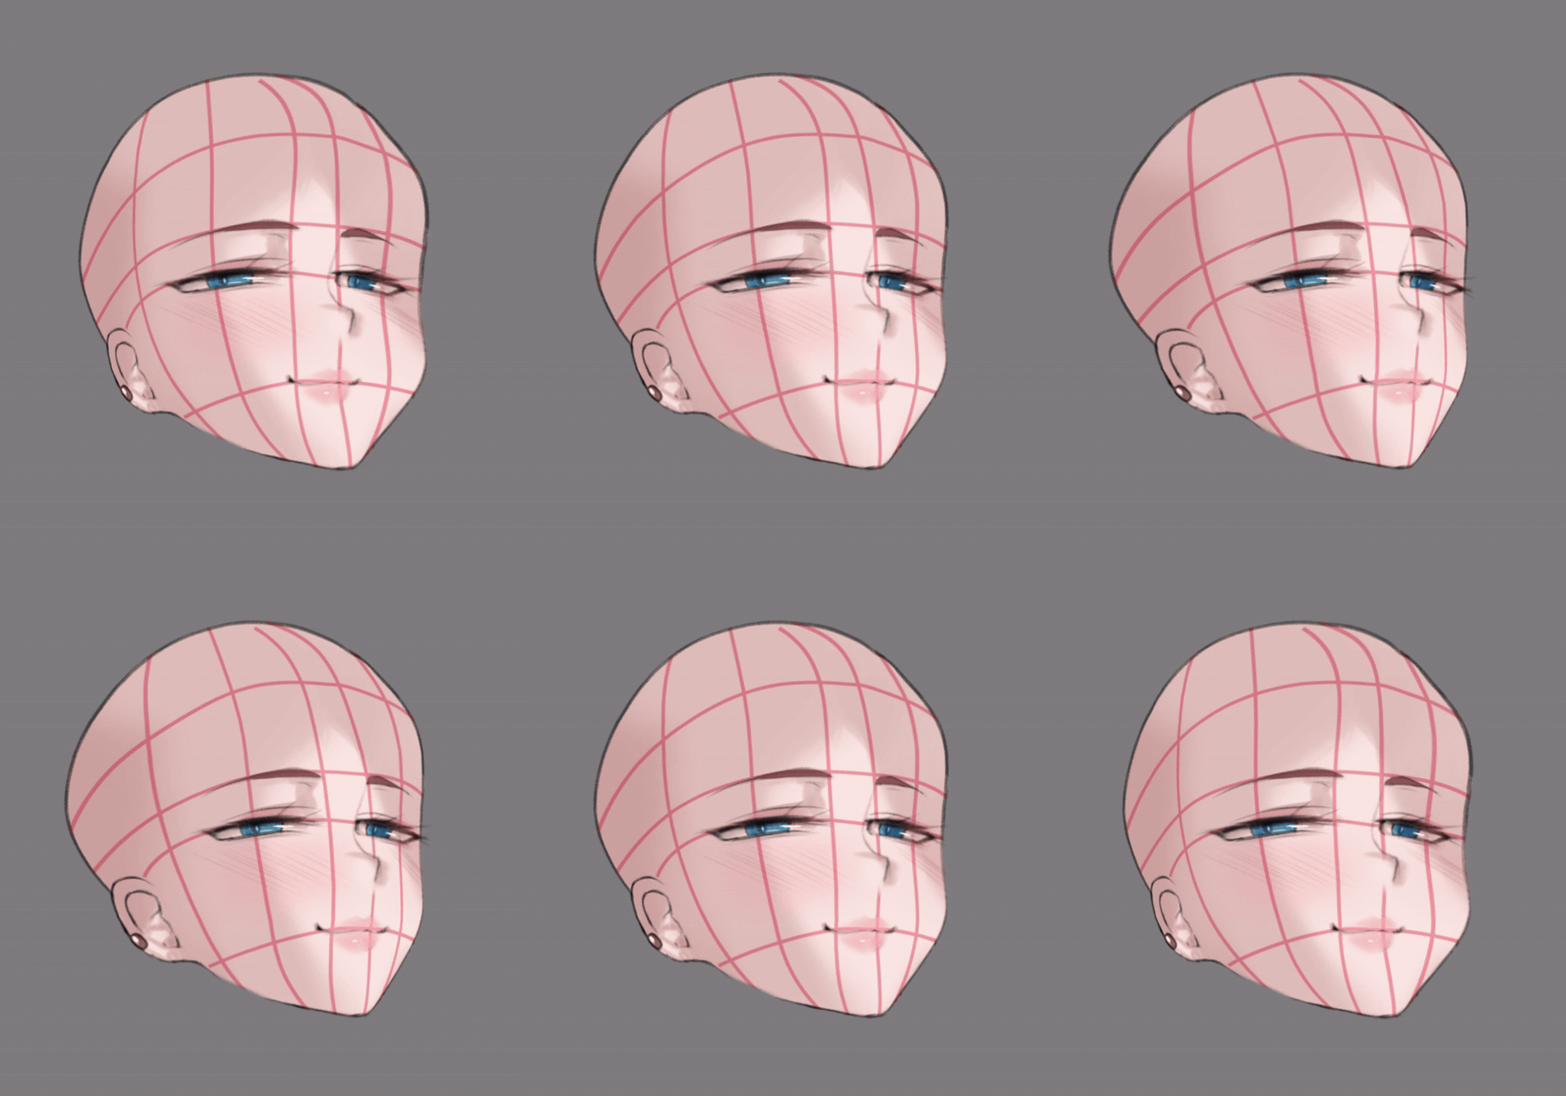
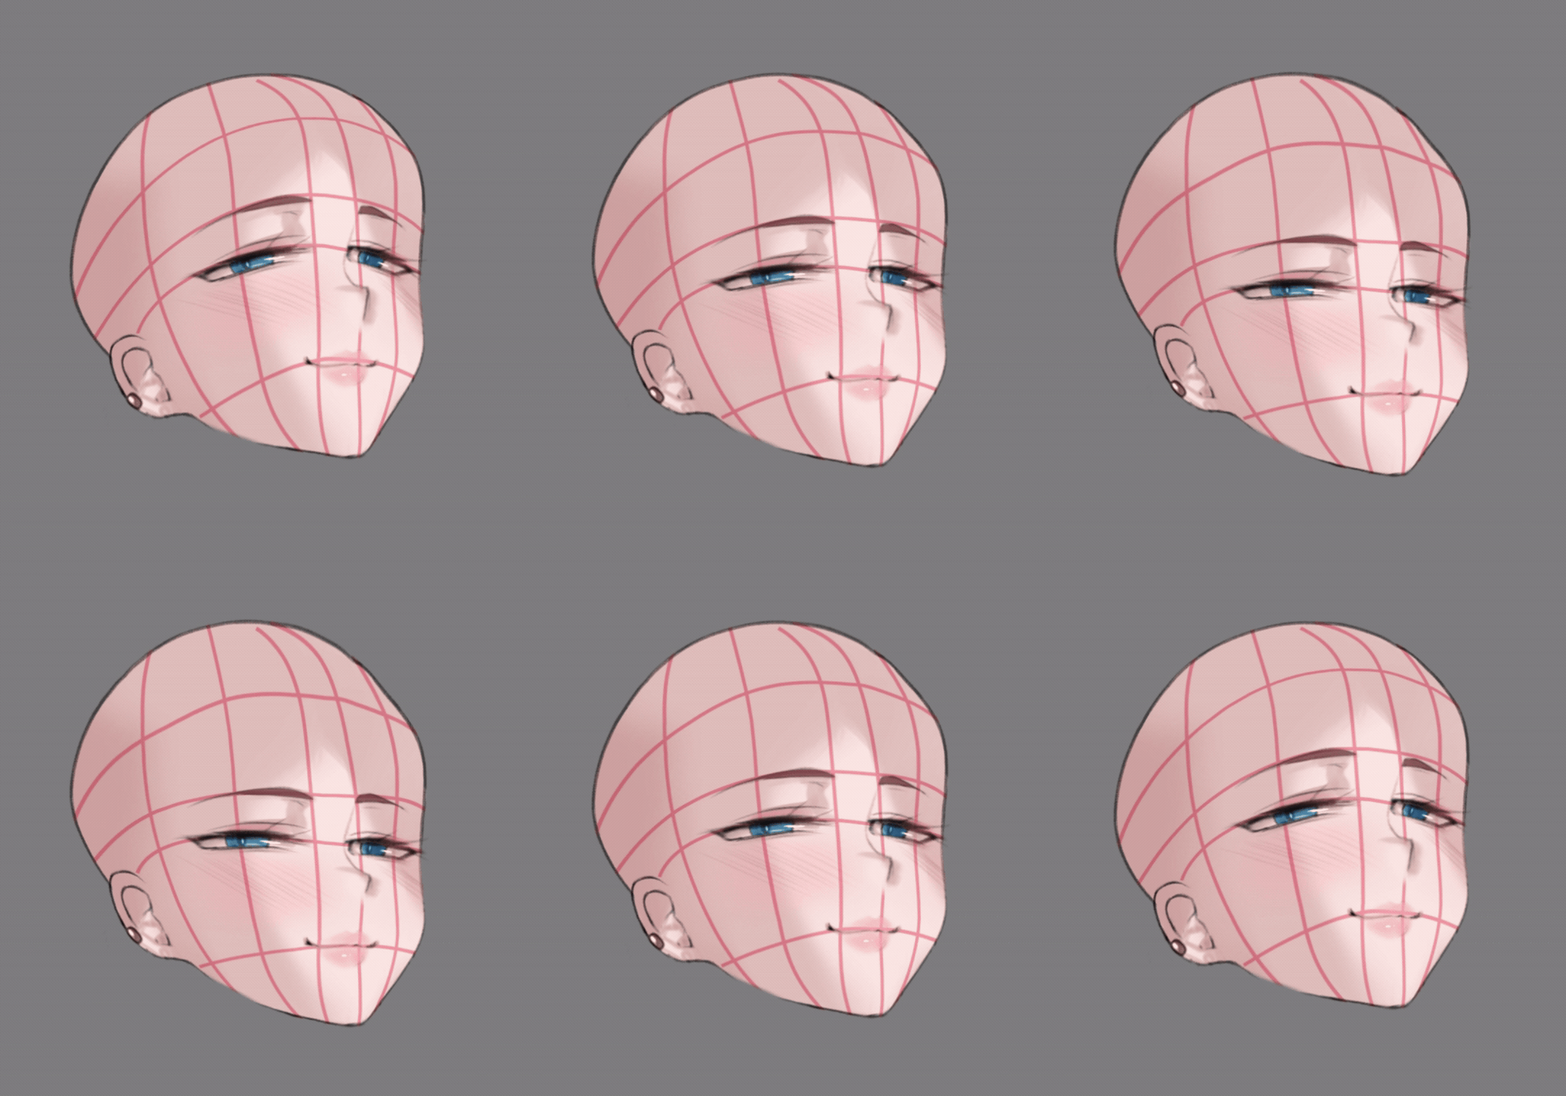
I like to create a fake mesh guide with shape layers over the head layer so I can better visualize how the face will be distorted. For the distortion itself of the head, I use a single Mesh Warp effect and set the extreme poses of Left > Center (the original) > Right, same goes for the vertical but Up/Down instead. For the face features I rather leave them in a different composition and adjust the parts accordingly, for the mouth is simply a matter of moving it’s position. Now for the eyes/brows I like to also animate it’s Scale X value to fake the depth, so the closer it’s to the camera, the higher the X value is and vice versa for the opposite direction. I know some of the extremes are looking too extreme and even a bit distorted lol but I don’t mind as I usually don’t push the poses in the animation this far.
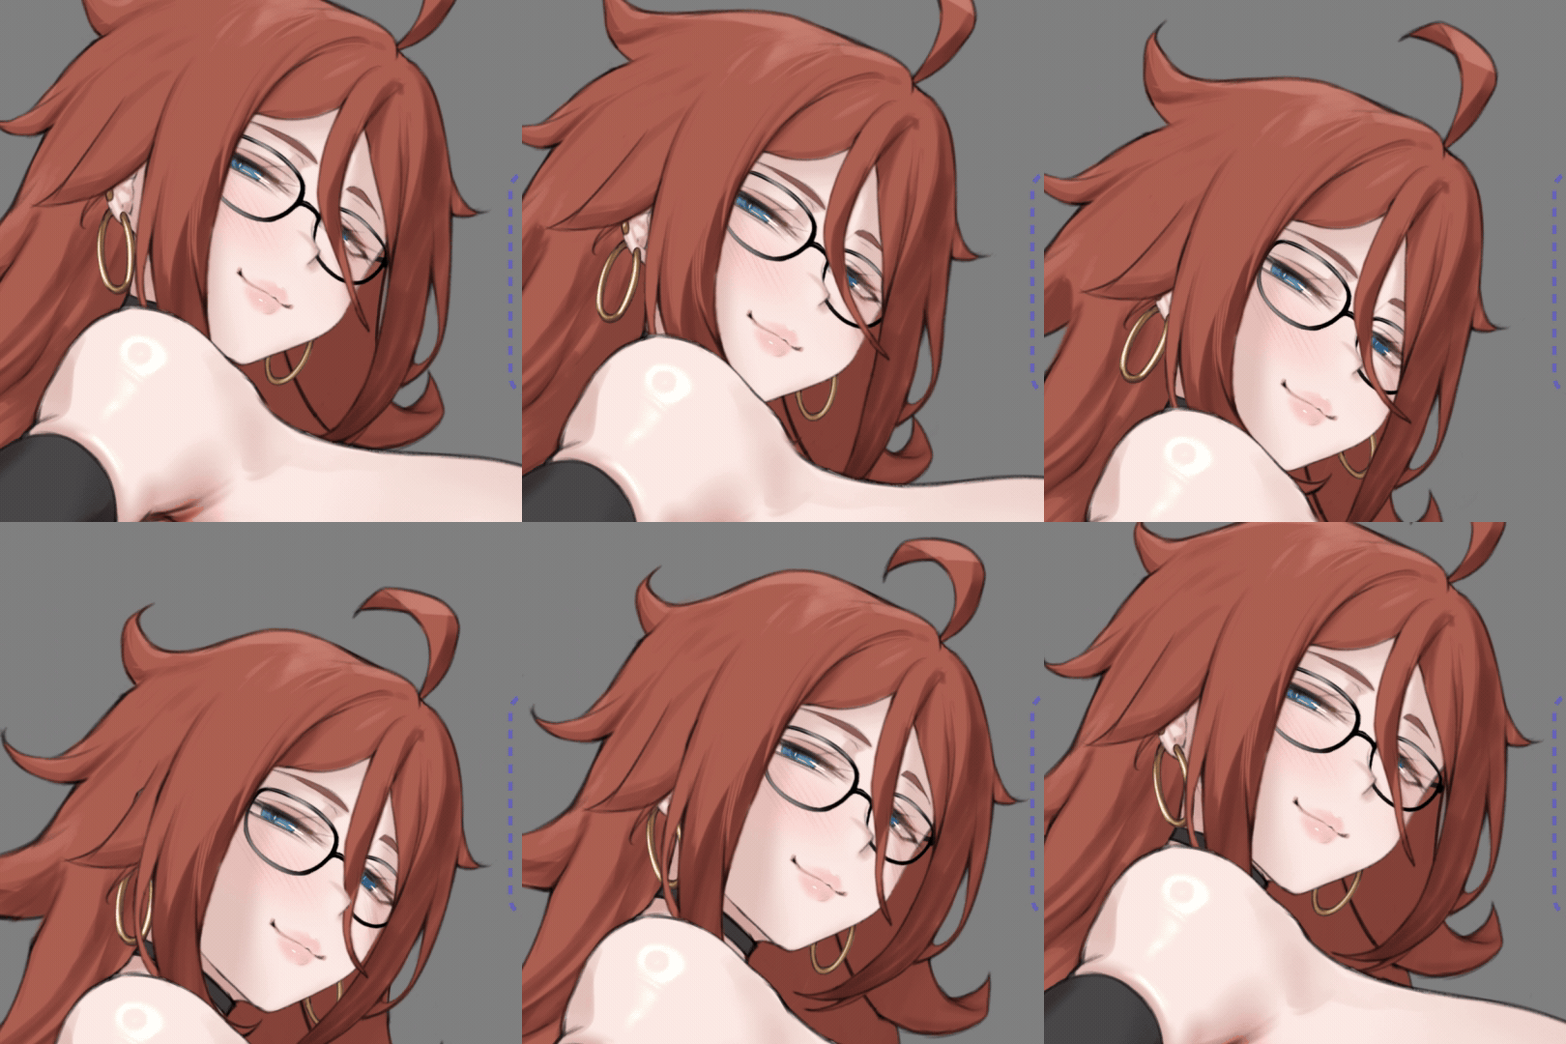
One important note here, if you look closely, you’ll notice that her head rotation in the mesh preview is different from the one in the animation, which is following the original drawing. The reason for that it’s because it makes the rig process easier as I only have to deal with the raw horizontal/vertical positions inside the pre-composed layers, if it was following the original rotation, I would need to deal with these rigs in a diagonal matter and it would be a nightmare to get them right. So always before hand I rotate the artwork to give a straight alignment and in the rig I rotate the parts back to it’s original version, it’s actually quite simply but can save you a lot of stress, sweat and blood tears in the process.
Once everything is set, I use the Duik Connector 2D Slider, for those familiar with the Joystick and Sliders, it’s pretty much the same, although the Duik script works with the keyframes instead the properties values. It allows you to work with effects that doesn’t deal with explicit values, which is the case of Mesh Warp, as you can’t see the number values of the individual vertices and gives you only a single keyframe.
Now that the head and face are rigged, everything else that’s connected to it, as the hair, glasses and ear earrings will follow the same movement, it’s a laborious process and takes a good amount of time, specially when you’ve many hair meshes to deal with. It usually takes me about one or two days just to get everything setup
There are so many other parts I want to cover but for now that’s all the time I can spare to share this info.
If you’re reading this, it means you’re big fan of these nerd info haha This rig will be available once the project is released, so please stay tuned 🙂
Thanks for reading it, you’re awesome!
much love, washa ❤️

